Up-cycled Christmas Tin & Announcement
Snow, Snow, GO AWAY…
AND don’t come back until December! Please and thank you!
I couldn’t believe it this morning when I felt the urge to dig out my chunky scarf for yet another chilly day. I was thinking we had finally moved past the layering trend of winter.

Either way, I am embracing this snowy day with a fire and maybe some afternoon hot chocolate as I watch the (unwelcome) snow fall across our recently planted garden.
HOLD ON TATERS! 🙂

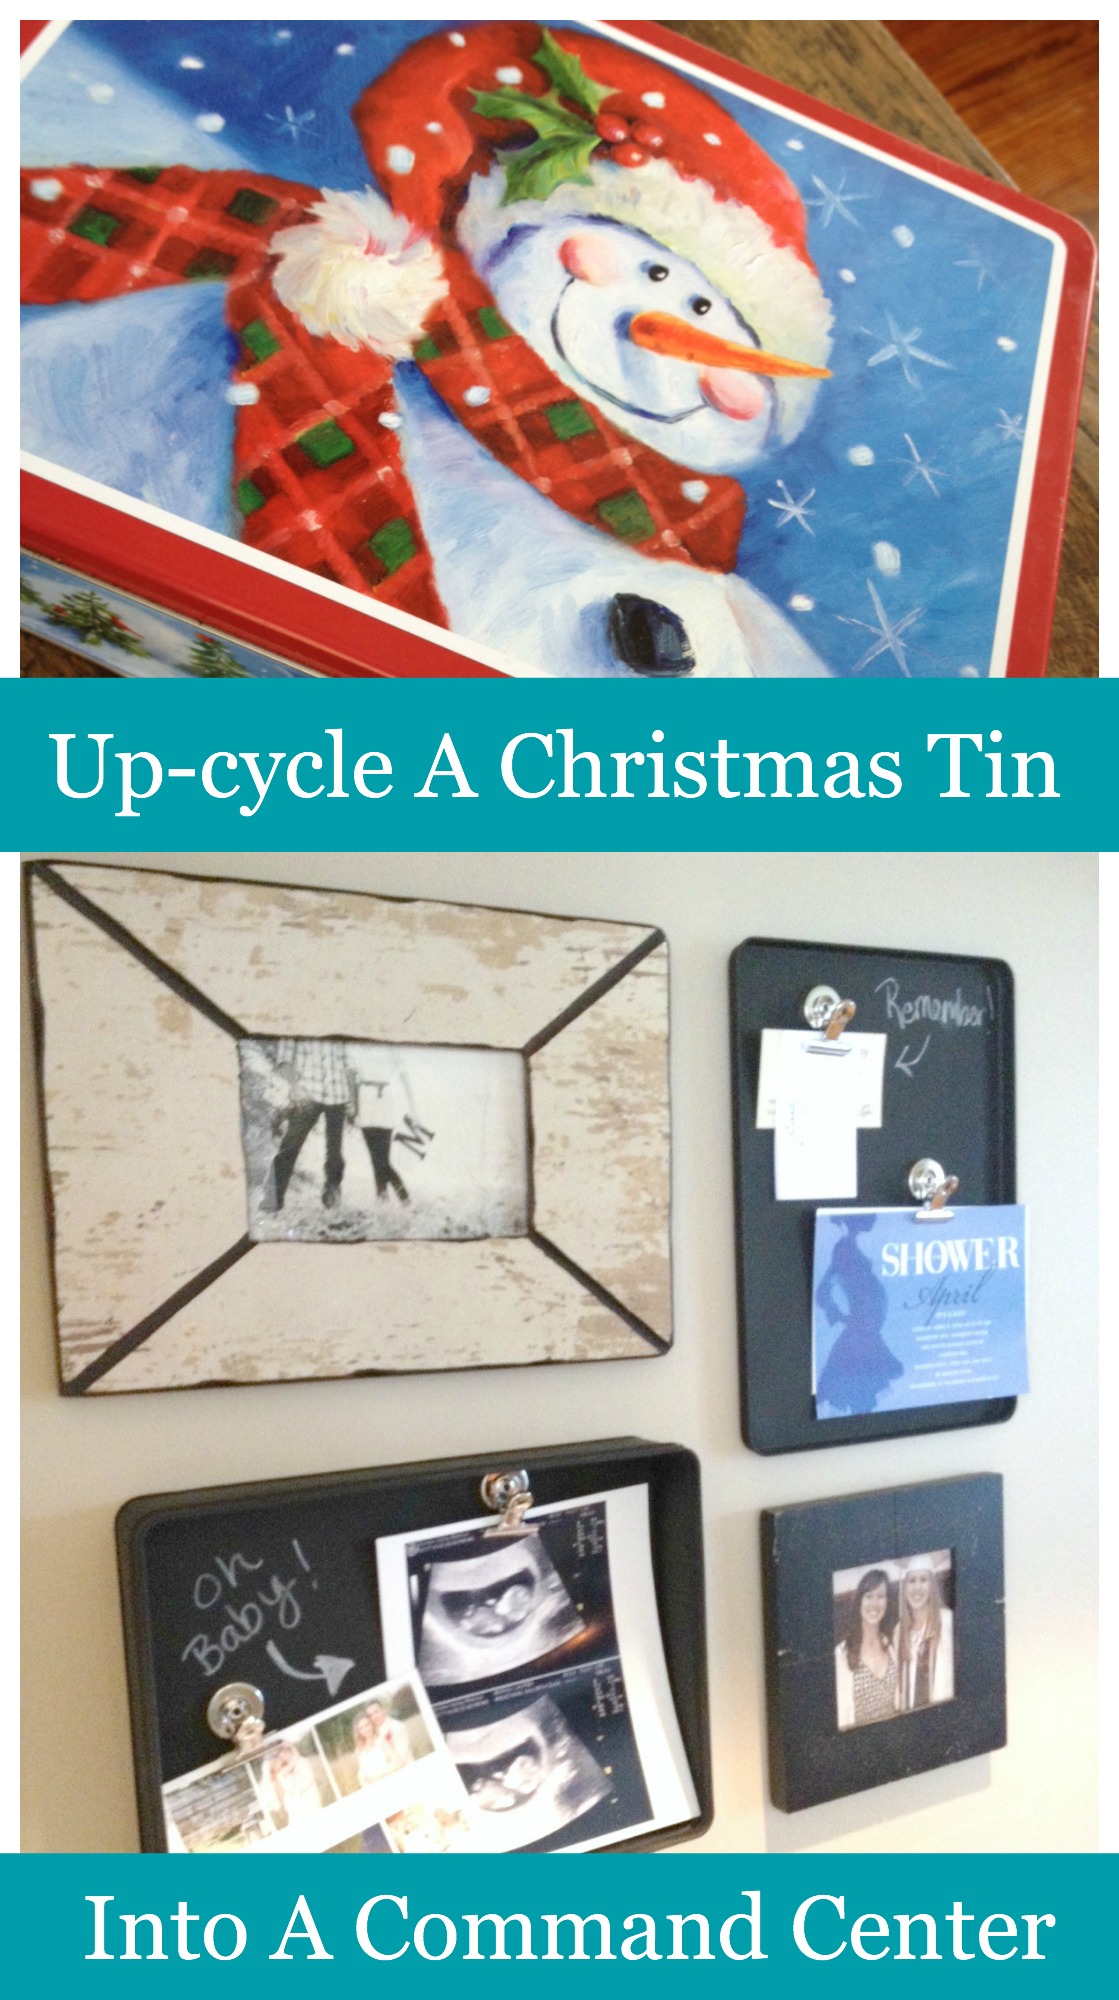
Today I wanted to get back to the repurposing project I introduced at the end of my post last week. I recently up-cycled an old Christmas tin.
I seem to collect random Christmas items like this one. I always keep them, thinking I’ll turn around and use it next year for Christmas cookies or candies. However, what happens is, I forget I have it and then find it in January when I no longer have a need to use it. Therefore, the perfect reason to repurpose this item.
Sorry Frosty…

I’ve been working on a tiny home office/command center to pay bills, file, and keep everything organized. It is slowly but surely coming together so I hope to have a reveal for you eventually. Until then, here is how I used the Christmas tin to start the space.
My wonderful husband spray-painted the tin container for me, inside and out with black spray paint. Then, he sprayed a layer of chalkboard paint on the interior of the base and the lid.
The main reason I wanted to use the tin was because it is MAGNETIC!!! I found small magnetic clips at Walmart and now I can collect reminders, photos and invites all on the up-cycled wall hanging.

I laid it out on the floor to get a feel for the sizing and spacing of my collage with a couple favorite photos.
See anything new…

OUR LITTLE ONE!!!
He or she will be arriving this September. Our due date is actually 9/29 which is our wedding anniversary! What a great gift we will have this year!

I can write in chalk on these boards and clip reminders and invites (or baby pictures!) 🙂

I fastened the tin to the wall with Command strips. They have been up for about a month with no problems so far.

So there you have it! The beginnings of my small office/command bill paying center. Hope to have more of the process done soon!
Do you have a specific place you pay bills from? Any tips?
Have a great week,
Lauren
CONGRATULATIONS!! And due on your wedding anniversary? That is so perfect! I love the upcycle too!
Thank you, Kelly! We are pretty pumped! Thanks so much for stopping by! 🙂
Congratulations! What a fun keepsake and way to display it. I love chalkboard paint and love when you can reuse something in a fun way. I just pay bills at my desk. I keep all the bills in a draw, and all the supplies like stamps, labels, pens and checkbook all with them. No looking for anything.
I always think I have everything at my desk but somehow end up searching for something! I hope to soon get it all in one space! Thank you so much for stopping by!